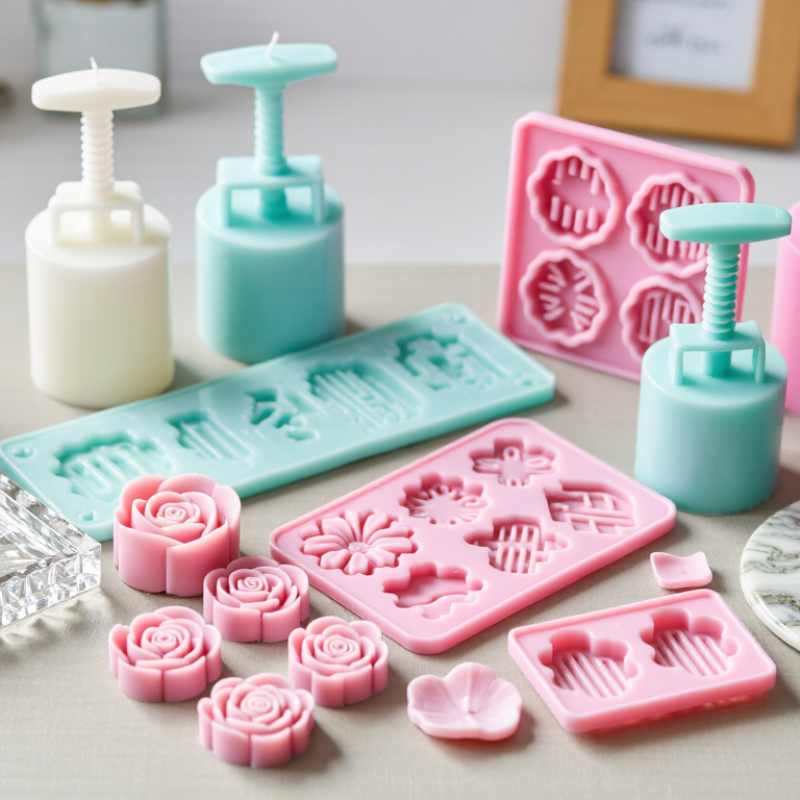
| Pillar Candle Mold | Wax blends used for molded candles | Freestanding cylindrical, square, or sculpted forms; usually a single cavity | Flexible walls can help release candles with raised patterns or tapered sides | Secure the mold during pouring and follow the wax supplier’s recommended pouring temperature. Leave room for the wick and any required wick support. | Finished candle dimensions, cavity count, mold wall thickness, wick-hole arrangement, and the silicone’s stated temperature limits |
| Taper Candle Mold | Candle wax | Long, narrow candle profile with a wick channel; some designs use a closure seam | Flexibility can assist demolding from a slender cavity | Support and close the mold securely to help prevent leaks. Check how the wick is positioned and held before pouring. | Length and diameter of the finished taper, seam design, closure method, wick-channel size, and mold support requirements |
| Decorative Sculpted Candle Mold | Candle wax | Relief, floral, figurine, or geometric designs; often one detailed cavity | Elasticity can help release undercuts and fine surface details | Deep details may require careful pouring and cooling. Confirm that the mold can be opened or flexed without distorting delicate features. | Pattern depth, finished-item dimensions, cavity opening, seam placement, and recommended demolding method |
| Soap Loaf Mold | Cold-process or other compatible soap formulations | Rectangular loaf cavity, sometimes paired with a separate cutting guide | Flexible sides can make it easier to release a set loaf | A full loaf can be heavy; use a rigid support or outer box when needed. Confirm compatibility with the soap-making process and its temperatures. | Internal length, width, and depth; target loaf capacity; support needs; and whether a liner or cutting accessory is included |
| Individual Soap Cavity Mold | Soap bases and compatible soap formulations | Multiple bar-shaped cavities in one tray, with smooth or patterned surfaces | Flexible cavities help release individual bars, including bars with textured backs | Keep the tray level while filling. Very thin details can be more vulnerable to deformation during handling. | Cavity count, bar dimensions, tray dimensions, cavity depth, and surface pattern consistency |
| Resin Jewelry or Small Casting Mold | Compatible casting and craft resins | Small cavities for pendants, shapes, or decorative components | A smooth, flexible cavity can support release and help preserve small surface details | Check resin and silicone compatibility, cure instructions, ventilation requirements, and maximum casting depth with the material supplier. | Cavity dimensions, finished-part thickness, surface finish, number of cavities, and stated resin compatibility |
| Resin Coaster or Tray Mold | Compatible casting resin systems | Broad, shallow cavities in round, square, or freeform shapes | Flexible walls can help release larger flat castings when the mold is properly supported | Place the mold on a flat, level surface. Follow resin guidance for pour depth and heat buildup; larger pours may need a suitable casting system. | Internal diameter or length and width, cavity depth, rim shape, flatness requirements, and resin pour-depth guidance |
| Plaster Relief or Ornament Mold | Plaster and other casting materials approved for the mold | Shallow decorative reliefs, tiles, medallions, or small ornaments | Flexible silicone can capture surface texture and release rigid castings | Support broad or thin molds on a rigid, level base while filling. Allow the casting to set sufficiently before demolding. | Relief depth, finished-piece dimensions, cavity count, required backing support, and compatible casting materials |