| Infant feeding bottle | From birth, when bottle-feeding is used | A bottle with a teat or nipple that releases milk as the baby sucks. | Designed for feeding young infants; familiar to babies who take expressed breast milk or infant formula by bottle. | Use a teat flow suited to the baby and follow safe milk-preparation and feeding guidance. Avoid propping the bottle or leaving it with a baby unattended. | Take apart and wash the bottle, teat, ring, and cap after use. Follow local guidance on sterilizing feeding equipment. |
| Small open cup | Often introduced when complementary foods begin, around 6 months, as the baby is ready | A small cup with no lid or valve; an adult usually helps the baby sip from the rim. | Offers practice drinking from a rim and does not require sucking through a teat or valve. | Spills are common at first. Use small sips and supervise closely; do not let a baby walk or play with a cup in the mouth. | Usually simple to wash because it has few parts. Clean promptly after milk feeds. |
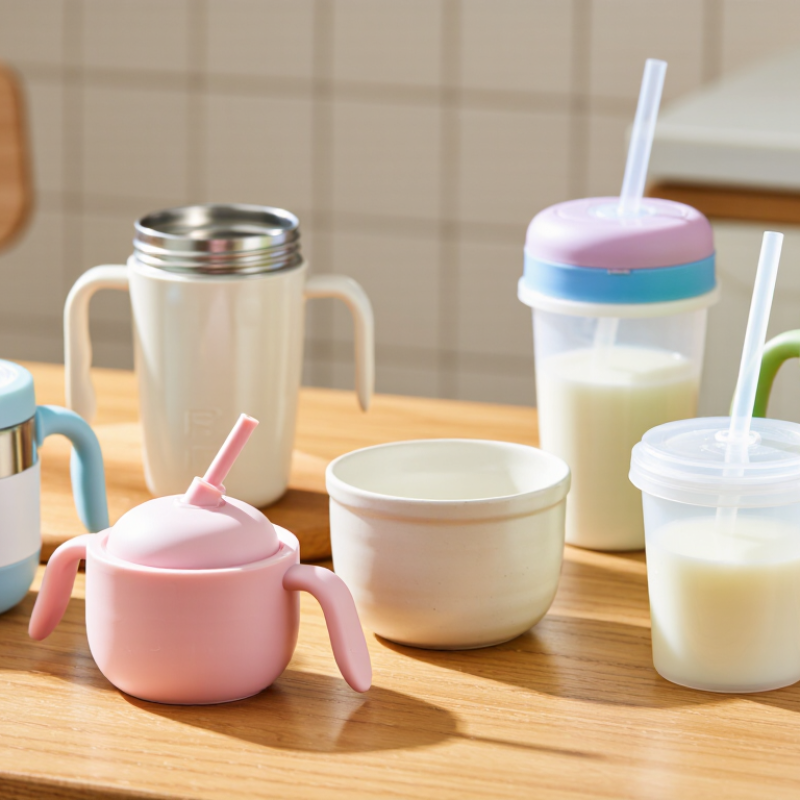
| Straw cup | For babies and toddlers who are ready to learn to drink through a straw; timing varies | A cup with a straw, sometimes with a lid or spill-control valve. | Can allow drinking without tipping the cup and can be useful for children who find rim drinking difficult. | Straw skills vary. Check that the child can use it comfortably, and supervise while drinking. Valves may make sucking harder for some children. | Wash the straw and any valve thoroughly; use a straw brush if needed and let all parts dry fully. |
| Soft-spout trainer cup | For a child moving on from a bottle, depending on readiness and family preference | A lidded cup with a soft, projecting spout; some models use a valve to reduce spills. | A familiar transition shape for some children and often easier to carry than an open cup. | It still involves sucking, and spill-control valves can require effort. It need not be a required step between bottle and open cup. | Check the spout, lid, and valve for trapped milk; disassemble and clean according to the cup instructions. |
| Hard-spout sippy cup | For some toddlers who are ready for a lidded cup | A rigid spout extends from a lid; many designs include a valve to limit leaks. | Portable and may reduce spills when used upright. | Not necessary for learning to drink. Avoid prolonged sipping throughout the day; offer drinks while the child is seated and supervised. | Remove and clean the lid and valve carefully, since milk residue can collect in small parts. |
| Rim-valve or 360-style cup | For toddlers who can hold and tip a cup with supervision | A lid allows drinking around the rim; a seal or valve opens when the child presses the rim to the mouth. | Allows drinking from different points around the edge and can help limit spills when the cup is upright. | The valve may take practice and can make drinking less like using a plain open cup. Check the child's comfort and drinking effort. | Disassemble the sealing components and clean them thoroughly; follow the maker's care instructions. |
| Small handled cup | For early drinkers who are practicing independent holding | A small open cup with one or two handles to help a child grip it. | Can support practice with holding and tipping a cup while an adult remains nearby. | Handles do not prevent spills. Choose a size the child can manage and supervise every drink. | Usually easy to clean; inspect handles and seams for milk residue. |