| 1 | Confirm the approved file version | Match the proof to the latest approved artwork, including file name, revision, page count, and date. Check that obsolete files are not being used. | Record the file name, revision identifier, approval date, and any replaced version. | Buyer and supplier confirm the same controlled artwork version before production release. |
| 2 | Check dimensions and layout | Verify finished size, panel order, folds, trim, bleed, safe areas, and orientation against the approved dieline or technical drawing. | Identify the affected panel or position and note the required measurement or layout change. | Recorded dimensions and layout match the approved specification; critical measurements are verified with suitable tools. |
| 3 | Inspect text and language versions | Check spelling, punctuation, translations, font rendering, line breaks, legibility, and placement of required product information. | Quote the exact text to change, provide replacement wording, and identify the language and location. | All text is reviewed by the buyer or designated language reviewer, with corrections closed in the final proof. |
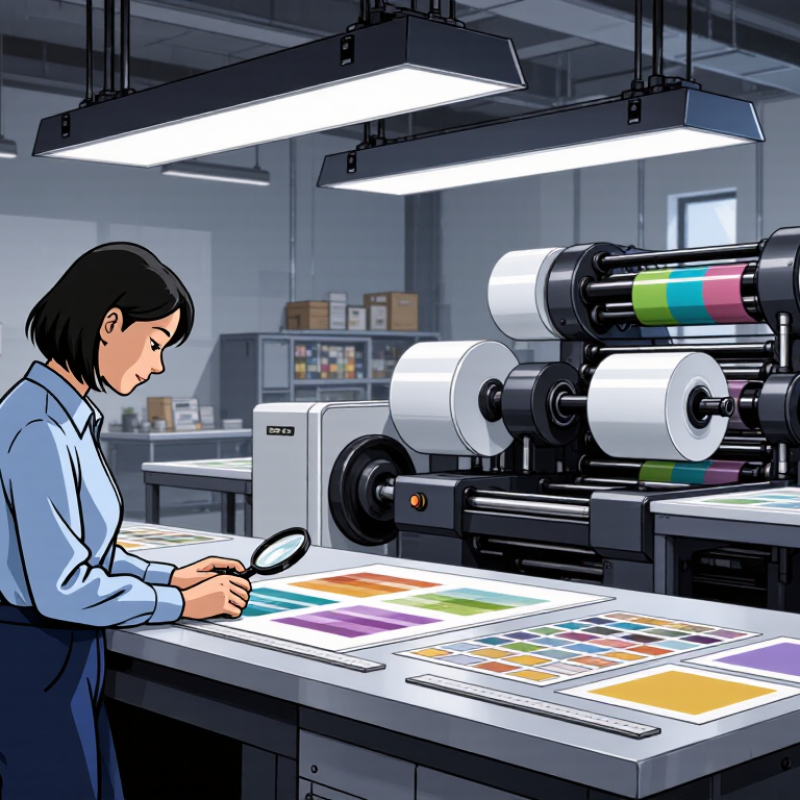
| 4 | Verify colors and color references | Compare key colors with the agreed color target, such as a physical reference, approved drawdown, or specified color standard. Screen appearance alone is not a reliable color match. | Record the color reference, observed difference, measurement method, and agreed adjustment where applicable. | Color acceptance criteria and measurement conditions were agreed in advance, and the approved result is documented. |
| 5 | Review images, gradients, and fine detail | Check image sharpness, tonal range, gradients, small type, thin rules, and reversed text at the intended print size. | Mark the affected area and describe the issue, such as loss of detail, an uneven gradient, or insufficient line weight. | Critical images and fine details are checked at actual size under suitable viewing conditions. |
| 6 | Check separations and overprint settings | Review process and spot-color separations, knockout and overprint behavior, trapping, and any unintended plate elements. | Record the separation or object affected and provide a marked proof or annotated screenshot. | Prepress confirms separations and overprint settings against the approved artwork and print specification. |
| 7 | Confirm substrate and finish details | Check the specified material, surface, coating, varnish, foil, embossing, or other finishing areas against the order requirements. | Document any mismatch in material or finish and identify the affected area or production specification. | The proof or supporting sample clearly identifies the material and finish approved for production. |
| 8 | Use clear, traceable correction marks | Make each correction easy to locate and distinguish from comments that do not require a change. | Number each item and record its location, requested change, responsible party, and status: open, corrected, or accepted as-is. | A corrected proof is returned with all requested changes visibly resolved or explicitly waived. |
| 9 | Check the final corrected proof | Compare the revised proof with the correction list. Confirm that requested changes were made and that no new errors were introduced. | Close each correction against the latest proof revision; reopen any incomplete or incorrect item. | The final review references a specific proof revision and shows no unresolved production-critical corrections. |
| 10 | Give explicit production approval | Ensure the approver understands that approval authorizes production from the identified artwork and specifications. | Record approver name or role, approval date and time, proof revision, and any agreed exceptions. | Written approval is retained with the order records. Any later artwork change requires a new review and approval. |