| Intended application | Where the glass will be installed and whether people could fall against or through it. | Use safety glazing where required by applicable building codes, such as certain doors, shower enclosures, and glass near floors or stairs. Requirements depend on location and installation. | Check local code requirements and confirm that the product is certified for the intended use. |
| Opening measurements | Width and height at the top, middle, and bottom; note whether the opening is square, level, or plumb. | Record each measurement rather than assuming the opening is perfectly uniform. For framed installations, the glass size usually needs installation clearance. | Have the installer or glass fabricator specify the final glass dimensions and required clearances before ordering. |
| Thickness and panel size | Glass thickness, panel dimensions, support locations, wind exposure, and expected loads. | Common nominal thicknesses include 4, 6, 8, 10, and 12 mm. The suitable thickness depends on the panel size, support, load, hardware, and local requirements; thickness alone does not establish suitability. | Request a project-specific recommendation from a qualified glazier or structural professional when panels are large, overhead, or exposed to significant loads. |
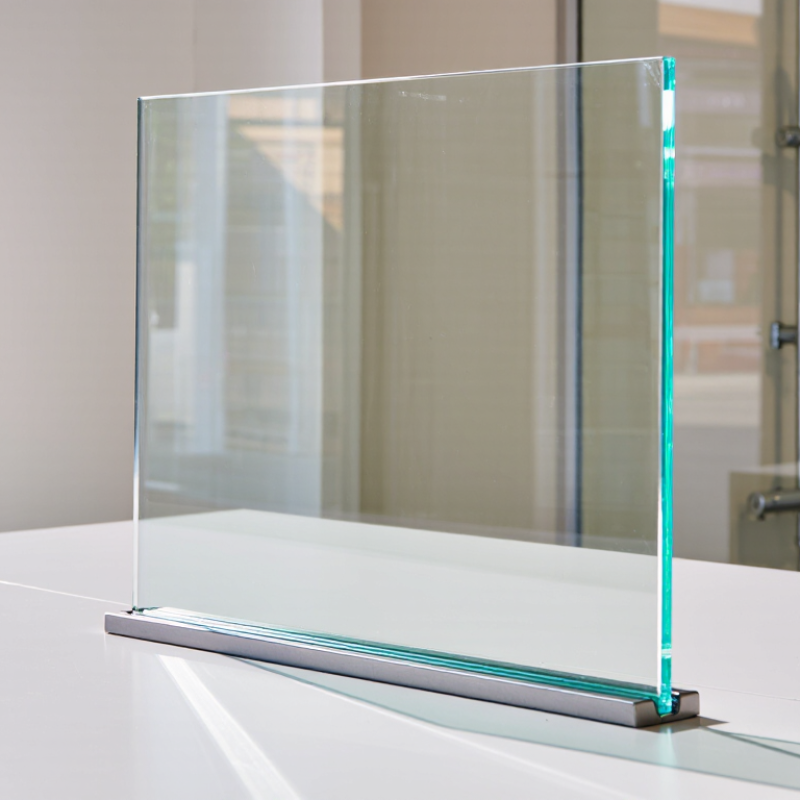
| Clear-glass appearance | Color at the edges, transparency, reflections, and how the glass looks beside existing materials. | Standard clear glass can show a green tint, especially at thicker edges. Low-iron clear glass can reduce this tint, but appearance and cost vary. | Review a physical sample at the installed thickness and in the lighting conditions where it will be used. |
| Edge finish and cut-outs | Exposed edges, holes, notches, and hardware locations. | Specify polished or otherwise appropriate finished edges where they will be visible or handled. Holes, notches, and edgework must be completed before tempering; tempered glass cannot be cut or drilled afterward. | Check drawings and hardware measurements carefully, since incorrect dimensions generally require a replacement panel. |
| Installation and support | Frame or channel dimensions, setting blocks, fasteners, seals, and contact points. | Glass should be supported as designed and protected from direct contact with hard metal or masonry. Use compatible gaskets, setting blocks, and sealants specified for the system. | Confirm the installation method and hardware compatibility before fabrication; avoid forcing a panel into an undersized opening. |
| Delivery and handling | Access route, lifting needs, panel weight, and a safe place for temporary storage. | Large or thick panels can be heavy and difficult to maneuver. Keep glass upright on suitable padded supports and protect corners and edges from impacts. | Plan delivery and installation with people and equipment appropriate for the panel size and weight. |
| Cleaning and maintenance | Water deposits, fingerprints, nearby construction work, and the cleaning products allowed by the installer. | Use a soft cloth or squeegee with clean water and a mild, non-abrasive glass cleaner. Avoid abrasive pads, harsh chemicals, and scraping near exposed edges or coated surfaces. | Follow the glass and hardware care instructions; periodically check seals, fasteners, and supports for wear or loosening. |
| Final order check | Quantity, finished dimensions, thickness, edgework, holes, glass type, and delivery details. | Tempered glass is made to specified dimensions, and changes after tempering are not possible. A clear written specification helps prevent mismatches. | Approve the final measurements and fabrication drawing before production begins. |