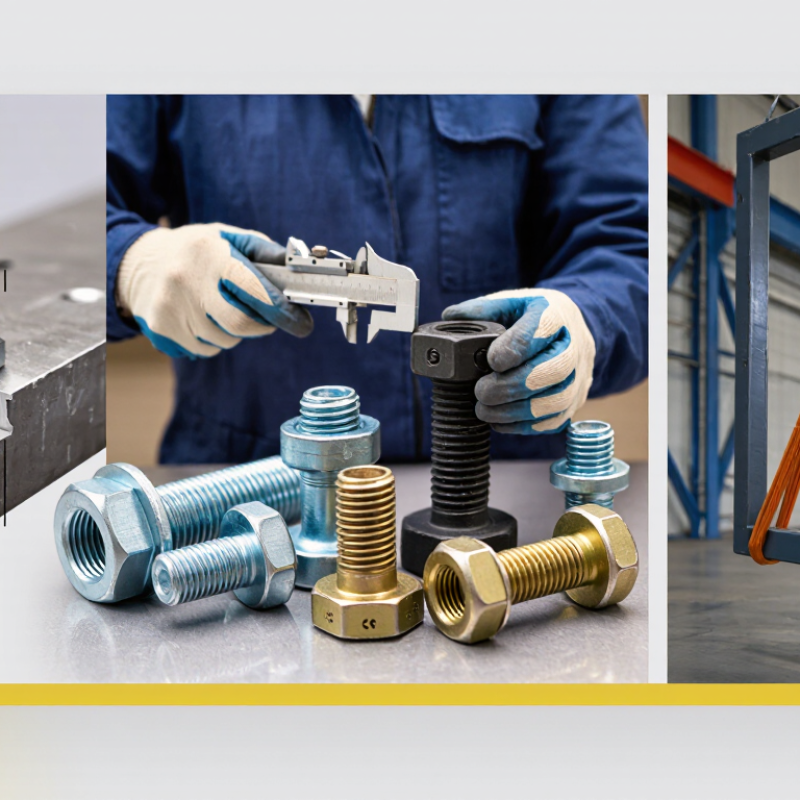
| Bolt Type | Choose a plain eye bolt for straight, in-line lifting only. Use a shoulder eye bolt or a swivel hoist ring when the design permits angular loading. | The approved working load limit (WLL) depends on the bolt design, size, material, installation, and loading direction. | Confirm the product marking, WLL, thread size, material grade, and intended loading direction. |
| Working Load Limit | Select a lifting bolt whose WLL is greater than the total lifted load, including attachments and foreseeable dynamic effects. | Never exceed the marked WLL. The assembly capacity is limited by its weakest component, such as the bolt, sling, shackle, or lifting point. | Check the load weight and compare it with the WLL for the actual lifting configuration. |
| Loading Direction | Keep a plain or shoulder eye bolt aligned with the direction of the sling pull. Do not allow side loading unless the lifting point is specifically rated for it. | Angular-load capacity is product-specific and may be lower than the vertical WLL. Do not estimate a reduction factor without the manufacturer’s instructions. | Ensure the sling, hook, and eye are aligned and that no edge or object is forcing the bolt sideways. |
| Thread Compatibility | Match the bolt thread diameter, pitch, form, and length to the tapped hole. Do not mix metric and inch threads or coarse and fine threads. | The bolt must achieve the required full thread engagement specified for the lifting point and base material. | Check that the threads are clean, undamaged, fully engaged, and free from cross-threading. |
| Base Material and Hole Condition | Install only in a sound, load-bearing component designed to support the lifting force. Do not use cracked, thin, damaged, or unverified tapped holes. | The base material and thread engagement must be capable of carrying the required load without pull-out, stripping, or fracture. | Inspect the hole for damage, contamination, excessive wear, corrosion, and sufficient depth before installation. |
| Shoulder Seating | For a shoulder eye bolt, seat the shoulder firmly against the load surface. Use a washer only when required by the design or instructions. | A visible gap, tilted shoulder, or improper washer arrangement can change the load path and reduce safety. | Confirm that the shoulder is fully seated and that the eye is oriented correctly before applying load. |
| Tightening Method | Tighten according to the lifting-point instructions. Use a calibrated torque wrench when a torque value is specified. | Torque values vary by bolt type, size, thread condition, lubrication, and manufacturer. Do not use a generic torque value. | Verify the required torque, thread lubricant condition, and final seating before lifting. |
| Sling Angle Effect | Keep sling legs as close to vertical as practical and account for the increased tension caused by low sling angles. | For a symmetrical two-leg sling, approximate tension in each leg as a percentage of the load: 90° from horizontal = 50%; 60° = 57.7%; 45° = 70.7%; 30° = 100%. | Confirm that the bolt, sling, and connecting hardware are rated for the calculated leg tension. |
| Hook and Sling Connection | Connect the hook or shackle correctly and prevent point loading on the eye. Do not force a hook into an undersized eye. | The connecting hardware must fit freely and retain the load without twisting, spreading, or bearing against an unsuitable edge. | Check hook latch operation, shackle pin engagement, eye contact, and freedom from snagging. |
| Trial Lift | Raise the load only a short distance first, pause, and check balance, seating, alignment, and stability. | Stop immediately if the lifting point tilts, loosens, deforms, or shows unexpected movement. | Keep personnel clear of the suspended load and never stand beneath it. |
| Pre-Use Inspection | Inspect every lifting bolt and connected component before each use, with additional formal inspections at intervals required by applicable rules and site procedures. | Look for cracks, bending, elongation, damaged threads, corrosion, wear, gouging, heat damage, and illegible markings. | Remove defective items from service immediately and identify them so they cannot be used accidentally. |
| Maintenance and Cleaning | Keep threads and contact surfaces clean. Protect the lifting point from moisture, chemicals, impact, and contamination. | Use only cleaning agents, corrosion protection, and thread lubricants permitted by the lifting-point instructions. | After cleaning, recheck markings, thread condition, seating surfaces, and moving parts where applicable. |
| Prohibited Practices | Do not shock-load, drag the load, use lifting bolts as tie-down points, weld or modify them, or use them for personnel lifting unless specifically designed and approved for that purpose. | Any modification, impact loading, or use outside the rated configuration can invalidate the WLL and cause sudden failure. | Stop the operation whenever the load, environment, or equipment differs from the approved lifting plan. |