| 1 | Match the bond to the stone hardness | Choose a medium-soft to medium metal bond for most marble grades; use a slightly harder bond for very soft, highly abrasive marble. | Marble is generally softer than granite, so an overly hard bond may polish the diamonds instead of releasing them. A balanced bond helps maintain cutting speed. | Bond selection should be verified with a test cut because marble hardness and mineral content vary widely. | If the disc becomes slow and shiny, the bond may be too hard. If segments wear unusually fast, consider a harder bond or lower cutting pressure. |
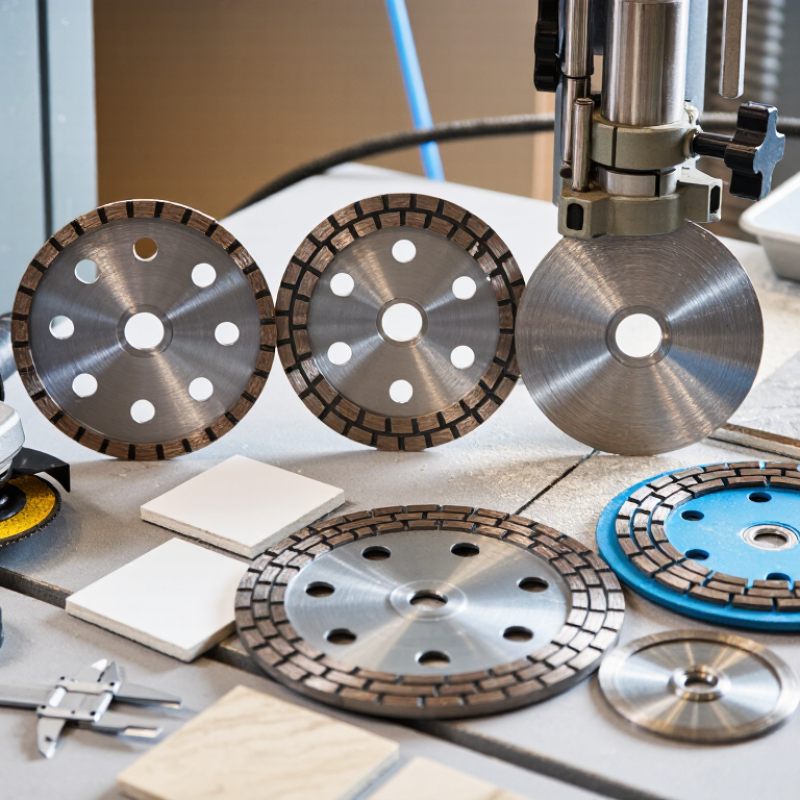
| 2 | Select the correct segment design | Use a continuous rim for the cleanest edge; use narrow turbo or segmented designs when faster stock removal and better cooling are more important. | A continuous rim supports smooth, low-chipping cuts. Gaps in turbo or segmented rims improve debris removal and airflow but can leave a rougher edge. | Continuous rim: finish cuts and visible edges. Turbo/segmented: rough cuts, thicker slabs, and higher production rates. | For premium exposed edges, make a shallow scoring pass before the full-depth cut to reduce breakout. |
| 3 | Choose diamond grit for the required finish | Use coarse grit for rapid cutting and fine-to-medium grit for smoother edges and reduced chipping. | Coarser diamonds remove material quickly, while finer diamonds distribute the cutting action across more contact points and typically leave a cleaner edge. | Common starting ranges: approximately 30/40–40/50 mesh for fast stock removal; approximately 50/60–60/80 mesh for cleaner finish cuts. | The exact grit choice depends on slab thickness, machine rigidity, marble composition, and whether the edge will be polished afterward. |
| 4 | Prioritize wet cutting for finish quality | Use a wet-rated disc with a continuous and steady water supply whenever the equipment permits. | Water cools the rim, suppresses dust, flushes marble slurry from the cut, and helps reduce thermal stress and edge damage. | Direct water toward both sides of the cutting zone; avoid intermittent water flow during a deep cut. | Insufficient water can cause overheating, glazing, uneven wear, and discoloration. Use suitable respiratory protection for dry cutting. |
| 5 | Check diameter, arbor, and machine speed | Select a disc whose diameter, arbor size, and maximum RPM are compatible with the saw or grinder. | Correct geometry prevents vibration, mounting problems, and excessive peripheral speed that can damage the disc or workpiece. | The disc’s marked maximum RPM must be equal to or higher than the machine’s no-load RPM. Never enlarge the arbor hole manually. | Inspect flanges, guards, and spindle condition before use. Stop immediately if the disc vibrates, wobbles, or produces abnormal noise. |
| 6 | Match segment width and height to the job | Use a thinner rim for precision tile and thin-slab work; use a more robust segment structure for thick slabs and demanding production cuts. | Thin rims reduce kerf loss and cutting resistance, while stronger segments provide greater wear allowance and stability in deep cuts. | Typical rim thickness is selected according to the required kerf, slab thickness, machine power, and acceptable edge tolerance. | Do not force a thin precision disc through a thick slab. Make multiple passes when recommended by the equipment and disc instructions. |
| 7 | Test the disc and control feed pressure | Run a short test cut on an offcut from the same marble batch before starting the finished piece. | A test reveals how the bond, diamond concentration, grit, and segment design react to the specific stone without risking the final workpiece. | Use steady, moderate feed pressure and allow the diamonds to cut; excessive force increases heat, deflection, and chipping. | Record cutting speed, edge quality, water flow, and segment wear. Adjust only one variable at a time for reliable comparison. |