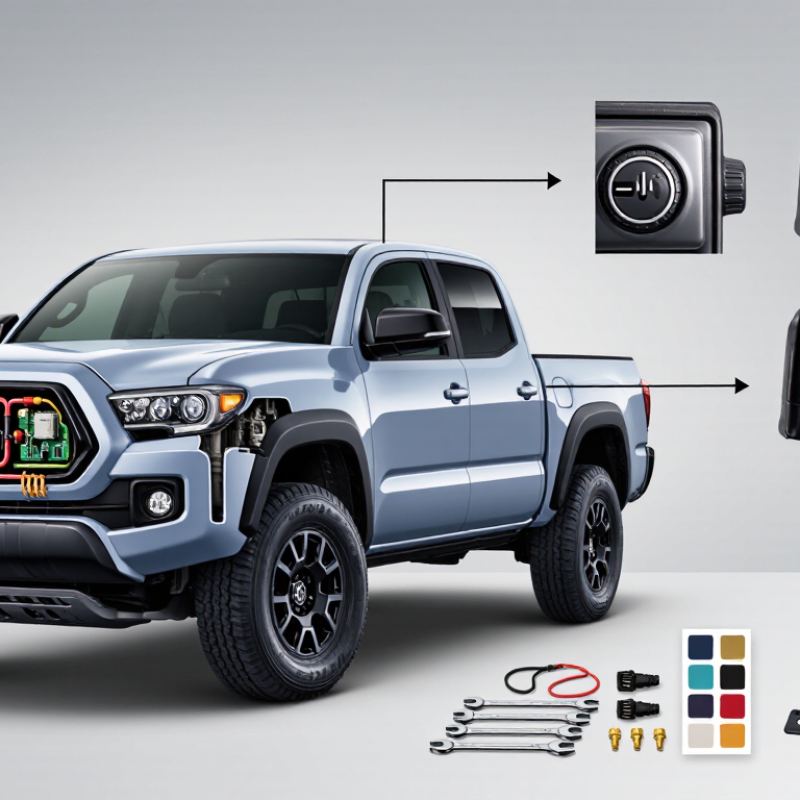
| Basic Definition | A side mirror is an exterior visibility device mounted on the driver-side or passenger-side door. It helps the driver observe adjacent traffic, parking areas, and objects behind the vehicle. | Keep both mirrors positioned to provide a broad rearward and side view. | Side mirrors reduce blind spots but do not eliminate them completely. |
| Common Mirror Components | Typical components include the mirror glass, housing, mounting base, adjustment mechanism, electrical connector, and optional heating or turn-signal elements. | Identify the damaged component before ordering a replacement. | A cracked glass panel may require less work than a damaged housing or mounting base. |
| Manual Adjustment | Manual mirrors are positioned by hand or with an interior adjustment lever, depending on the vehicle configuration. | Adjust the mirror while seated in the normal driving position and before moving the vehicle. | Do not force a stiff adjustment mechanism, as the internal pivot may break. |
| Powered Adjustment | Power-adjustable mirrors use a small electric motor controlled by an interior switch. | Turn the ignition or accessory power on, select the correct side, and move the control in short steps. | If the switch works but the glass does not move, the motor, wiring, or internal linkage may require inspection. |
| Recommended Driver-Side Position | Set the mirror so only a small portion of the vehicle side is visible along the inner edge, while most of the mirror shows the adjacent lane. | Use a level road or driveway and confirm the view from the normal seating position. | Avoid aiming the mirror too far inward, which increases the blind area beside the vehicle. |
| Recommended Passenger-Side Position | Angle the mirror outward enough to show the adjacent lane and rear approach area while retaining a small reference view of the vehicle side. | Ask another person to help verify the view if the mirror is difficult to judge from the driver’s seat. | The passenger-side mirror may require extra attention because distance can be harder to estimate. |
| When Replacement Is Needed | Replacement may be appropriate when the glass is shattered, the housing is severely cracked, the mirror will not stay in position, or the mounting structure is damaged. | Compare the replacement part with the original unit, including mounting points and electrical connections. | A mirror that is loose at the door should be repaired promptly because vibration can reduce visibility. |
| Glass-Only Replacement | If the housing and adjustment mechanism remain intact, replacing only the mirror glass can be a practical option. | Use protective gloves and follow the replacement part’s fitting instructions. | Broken glass edges can cause cuts. Disconnect electrical heating terminals carefully when present. |
| Complete Assembly Replacement | A complete assembly generally includes the housing, glass, adjustment mechanism, and mounting structure. Some configurations may also include wiring. | Remove the interior door trim or access cover only when necessary, and protect painted surfaces during removal. | Do not allow the mirror assembly to hang by its wiring during installation. |
| Basic Replacement Tools | Common tools may include a trim-removal tool, socket set, screwdriver, plastic pry tool, work gloves, and a clean cloth. | Use the correct tool size and keep removed fasteners organized. | Plastic trim tools help reduce scratches and damage to interior panels. |
| Installation Check | After installation, verify that the mirror is firmly attached, moves through its adjustment range, and remains stable during normal door operation. | Test manual or powered adjustment before reinstalling all trim panels. | A loose mounting fastener can create vibration, wind noise, or sudden loss of mirror position. |
| Electrical Function Check | For equipped mirrors, check power adjustment, heating, turn-signal illumination, and any other connected functions. | Test each function with the vehicle safely parked and the ignition or accessory power enabled as required. | If a fuse repeatedly fails, stop testing and have the circuit inspected for a short or damaged wire. |
| Cleaning Method | Use clean water, mild automotive soap, and a soft microfiber cloth to remove dust, road film, and insects. | Rinse loose grit before wiping and dry the surface with a separate clean cloth. | Avoid abrasive pads, harsh solvents, and excessive pressure on the mirror glass. |
| Cold-Weather Care | Ice can restrict mirror movement and may place stress on the adjustment mechanism or housing. | Remove ice with a suitable de-icer or allow it to melt naturally before adjusting the mirror. | Do not use sharp tools or force the mirror against frozen components. |
| Vibration or Wind Noise | Excessive vibration or new wind noise can indicate a loose fastener, damaged housing, worn pivot, or improper installation. | Inspect the mounting area and check whether the mirror moves independently of the door. | Repair loose or unstable mirrors before driving in heavy traffic or at highway speeds. |
| Visibility Verification | A properly adjusted mirror should provide a continuous visual transition from the interior rearview mirror to the side-mirror view with minimal overlap. | Check the view after carrying passengers, changing the seat position, or installing a different mirror assembly. | Always perform a shoulder check before changing lanes, even when the mirrors are correctly adjusted. |
| Inspection Frequency | Inspect the mirror condition during routine vehicle cleaning and before trips involving towing, rough roads, or long-distance driving. | Look for cracks, looseness, clouding, water intrusion, and damaged wiring. | Early inspection can prevent a minor defect from becoming a complete visibility failure. |