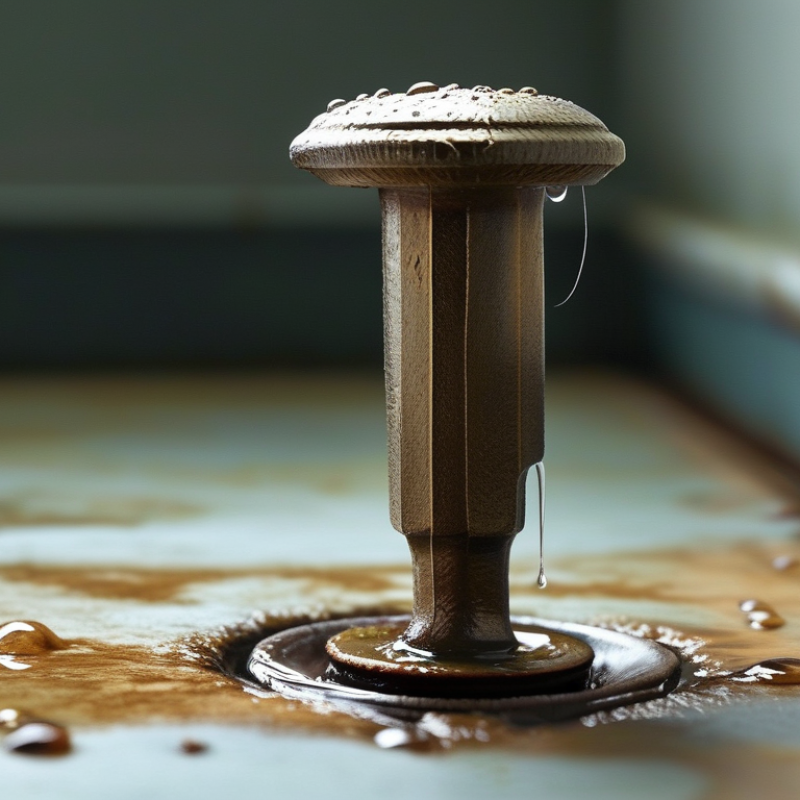
| The stopper will not close fully | Hair, soap residue, or mineral deposits are preventing the stopper from seating. | Look for debris around the stopper edge and drain opening. | 1. Lift the stopper out if the design allows it.
2. Remove buildup with an old toothbrush or plastic scraper.
3. Wipe the stopper and drain rim clean.
4. Reinstall it and test for a complete seal. | Gloves, toothbrush, cloth, plastic scraper | 10–20 minutes | Easy |
| Water drains away even when the stopper is closed | A worn, cracked, or flattened rubber seal is allowing water to pass. | Inspect the stopper gasket for hardening, gaps, cracks, or deformation. | 1. Remove the stopper.
2. Compare the old seal with a matching replacement.
3. Clean the contact surface.
4. Fit the new seal evenly and test the basin with a small amount of water. | Adjustable pliers, cloth, replacement seal | 20–40 minutes | Easy to moderate |
| The lift rod moves, but the stopper does not move | The clevis connection is loose, disconnected, or incorrectly positioned. | Look under the sink for the lift rod, clevis, retaining clip, and pivot rod. | 1. Reconnect the lift rod to the clevis.
2. Align a clevis hole with the pivot rod position.
3. Insert the pivot rod and secure it with the retaining clip.
4. Move the lift rod several times to confirm operation. | Flashlight, pliers, replacement retaining clip if needed | 15–30 minutes | Easy to moderate |
| The stopper opens but will not stay open | The linkage is too loose, the clevis setting is unsuitable, or the pivot mechanism is worn. | Check whether the lift rod has excessive free movement before the stopper begins to rise. | 1. Loosen the clevis retaining screw or clip.
2. Move the clevis to a different hole to change the stopper travel.
3. Tighten the connection without restricting movement.
4. Test both the open and closed positions. | Small pliers, screwdriver | 15–25 minutes | Easy |
| The stopper is stuck in the drain | The pivot rod is corroded, the linkage is jammed, or debris is caught beneath the stopper. | Check whether the pivot rod can be removed and whether the stopper moves freely by hand. | 1. Place a container under the drain connection.
2. Remove the pivot-rod retaining nut carefully.
3. Pull out the pivot rod and lift out the stopper.
4. Clean the parts and replace damaged components before reassembly. | Bucket, adjustable pliers, penetrating oil, cloth | 30–60 minutes | Moderate |
| The stopper sits too high or too low | The stopper height has changed because the adjustment nut or linkage position is incorrect. | Check the threaded stopper rod and the nut beneath the stopper. | 1. Remove the stopper from the drain.
2. Turn the adjustment nut in small increments to raise or lower the stopper.
3. Reinsert the stopper and check the seal.
4. Lock the setting once the stopper opens and closes correctly. | Pliers or small wrench, cloth | 15–30 minutes | Easy |
| The stopper works intermittently | A loose fastener, bent linkage, or partially blocked pivot area is causing inconsistent movement. | Operate the lift rod repeatedly while observing every connection under the sink. | 1. Tighten loose nuts and screws gently.
2. Straighten or replace a visibly bent linkage.
3. Remove debris from the pivot area.
4. Apply a small amount of plumber-safe silicone lubricant to moving joints if appropriate. | Flashlight, pliers, screwdriver, silicone lubricant | 20–45 minutes | Moderate |
| A leak appears around the drain assembly | The drain flange, washer, or retaining nut is loose or the sealant has failed. | Dry the pipes and watch for water appearing around the flange or drain connection. | 1. Tighten the retaining nut slightly while supporting the drain body.
2. Do not overtighten, as this can damage the sink or washer.
3. If leakage continues, remove and reseal the drain assembly with suitable plumbing sealant.
4. Fill the basin and inspect all joints again. | Bucket, adjustable wrench, cloth, plumbing sealant | 30–90 minutes | Moderate to advanced |
| The stopper is clean but still does not seal | The stopper or drain seat is damaged, distorted, or incompatible with the drain opening. | Inspect for corrosion, uneven surfaces, deep scratches, or a mismatch in size. | 1. Measure the old stopper and compare its shape with the drain opening.
2. Replace a damaged stopper with a correctly sized compatible part.
3. Confirm that the gasket contacts the drain evenly.
4. Test the seal before using the sink normally. | Tape measure, pliers, replacement stopper | 20–45 minutes | Easy to moderate |
| The drain remains slow after the stopper is repaired | Hair and debris may be trapped below the stopper or in the trap. | Check the drain opening and run water after removing the stopper. | 1. Remove the stopper and clear visible debris.
2. Use a plastic drain tool or hand auger if necessary.
3. Flush with hot tap water.
4. If the blockage remains, clean the trap or contact a qualified plumber. | Gloves, plastic drain tool, bucket, hand auger | 15–60 minutes | Easy to moderate |